Pottery Bowl

Pottery Bowl
Archies' Base & Pam's Green glazes

Pottery Bowl

Pottery Bowl
with tree appliques

Johnny's Trees

Johnny's Trees
Closeup

Johnny's Trees

Johnny's Trees
Woodburning on plank

All That Jazz

All That Jazz
Fused glass

All Polished UP

All Polished UP
Canvas/nail polish

Wednesday, November 23, 2011

Holiday Art Ornaments, Vases, Jewelry

Holiday Art Ornaments, Vases, Jewelry.

I've been on the run from home to Wichita to help our daughter and her family while she is on bed rest and pregnant. It has been a special time for me!

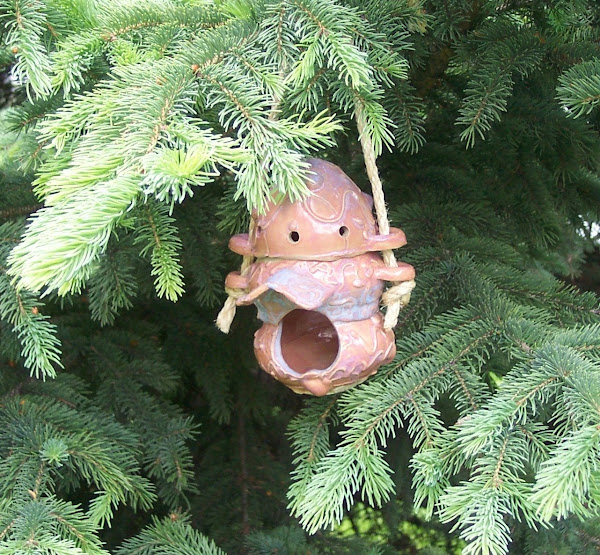
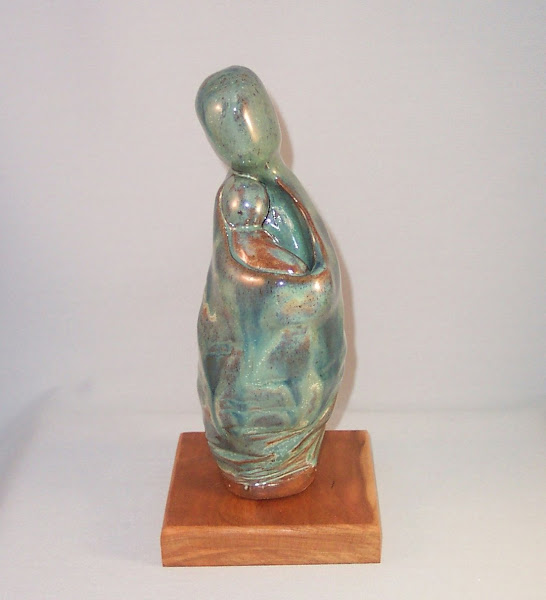
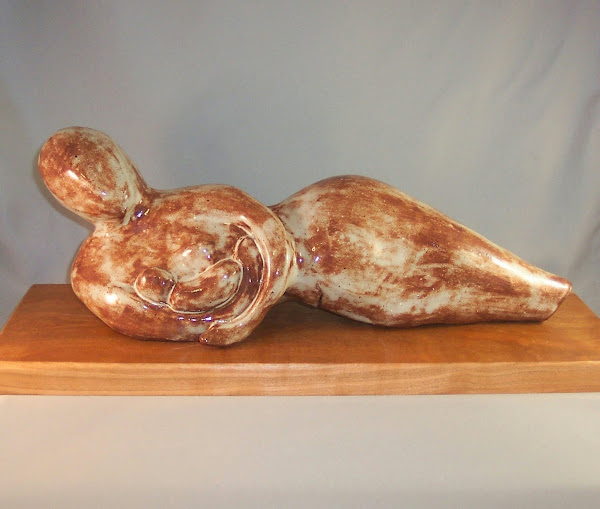
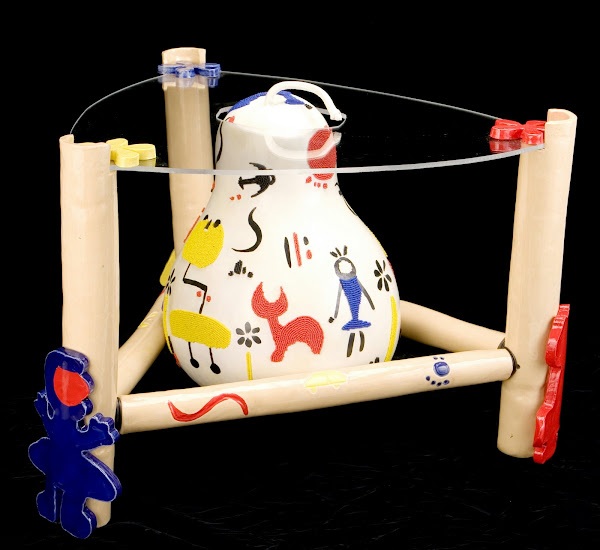
I have found time to make some art for the holidays: tree ornaments and holiday decorations, one of a kind art like my Abstract Autumn fused glass work, necklaces, vases, paintings for my show in Oct. at the downtown bakery, and work for the 3rd annual Holiday Glow Art Sale & Show, which was held Nov. 11, 12 and 13.

The sale was a huge success and I raised over $2,000 for our local homeless mission. I donate 1/2 of my art sales to that organization. Check out my etsy shop and know that your purchases help the homeless!

I hope you and yours have a well-blessed Thanksgiving and Christmas, too!

Monday, August 15, 2011

How to teach painting to toddlers

How to teach painting to toddlers? We recently had our 16 month old grand daughter visiting from Wichita...and I wanted her to have her first painting experience in my studio while she was here.

Important points to remember:
  • Have your camera ready to catch the artist in action.
  • Have several old washcloths and a bucket of water handy.
  • Get everything set up before you bring the child to the painting 'center'.
  • Use only non - toxic, water based poster or tempera paint!
  • Don't use water colors. They are too frustrating for young kids as the colors make 'mud' quickly.
  • Limit the number of colors to 2 or 3, with white, to start with. For more 'attractive' finished pieces use colors that are adjacent on the color wheel, like purple, red and blue. If you want to have the child use colors that are opposite on the color wheel, like purple and yellow, use one color then let it dry before using the second color. You may still get a little mixing (therefore brown/grays) but not nearly as much.
  • Tape up a really large piece of heavy paper, illustration board or scrap mat board on a wall. Make sure it is really securely attached. And try to keep the tape only on the back or the very edges of the painting surface. Or use a child's easel if you have one...they are great gifts.
  • Use chubby brushes, with short handles.
  • Lids from ice cream pails work great as palettes, if you want to wash it or toss it. See below.
  • Put a paint shirt on the child, and an apron on yourself and wear old clothes both of you!
  • Let the child 'have at it' - show how to dip the brush in the paint and then on the paper. Give praise!
  • Encourage explorations - of color mixing, line and mark making. Please don't worry about rinsing out the brush between colors. Kids will lose interest quickly and mixing paint is most of the fun...as you will see on the palette!
  • Let the child paint her/his hands and 'print' them on the paper, too.
  • Most toddlers will be 'finished' quickly!
  • Let the painting dry. Come back to it later to add more or frame it up! Preschool paintings are especially cute framed with a photo of the child making the art work in a double mat inside one frame. One more idea: use a thick paper palette - like another piece of illustration board or mat board and frame that with the art and the photo!
Have fun!

Thursday, May 19, 2011

How to use E6000 glue Tips for E6000

Have you had frustrations with E6000 glue failure? Me, too!

The main things I've learned:
Be sure things to be glued are very clean, free of dust, grime and grease.

Be sure everything is dry.

Use E6000 SPARINGLY! More is not better! The reason: E6000 does not stick well to itself. I put a small amount on the jewelry bail and the matching glass pendant, or a small amount on the glass butterfly and the matching mat board, for example. Next I spread it out very thinly on both surfaces with a small piece of heavy cardboard or a scrap of mat board. After waiting about 1-2 minutes, I press the two surfaces together and apply some weight. I don't move the piece for 24 hrs. to give the bond a good cure time.

I've not had any glue failure after applying the 'less is more' principle with E 6000. I would love to hear any tips or frustrations or comments you may have about E 6000. Or your recommendations about other glues that are 'out there'.

Be sure to browse my etsy shop! I have lots of fun pottery, fused glass, gourds, whimsical acrylic paintings and more. www.jackiesart.etsy.com

Friday, April 8, 2011

Glass Craft and Bead Expo

We just returned from the Glass Craft and Bead Expo in Las Vegas at the South Point Hotel and Casino. Great place and great educational opportunity - I recommend it, even though the classes are expensive.

I took classes from Dan Jenkins (slip cast mold making), Petra and Wolfgang Kaiser (using Kaiser Lee Board for molds for fused glass) and Photopolymer Masking by Sharon and Barry Kaiser. All the classes were well organized and worthwhile. Now I need to lay in some new supplies so I can practice the techniques I learned.

Another note: I have finished some small clay sculptures that are part of my Whimsical Snapshots of Life on the Prairie series (first part of the series: small acrylic paintings). I plan to get some photos taken and posted here in May...or perhaps earlier.

I get to babysit our grand daughter, Brooke, for two weeks - she normally lives in Wichita but will be a North Dakota baby for a few weeks! Yay!

Sunday, February 27, 2011

Laugh a Lot Pottery Jackies Art Jewelry Fused Glass

I finally spent 2-1/2 days in my pottery studio...working on my own stuff! Hooray! I made covered butter dishes with a variety of knobs: butter churns, cats and flowers and two with "I am the Bread of Life" stamped on the side and a loaf of bread for the knob. I also made bowls and a large plate with "laugh a lot" stamped in the center...I really like how they turned out. I also made ice cream bowls, business card holders and pencil holders. Now I grant you they are not out of the bisque kiln! It is fun to have pottery in progress.

We had a week with our grandkids who live in Minnesota. We were so busy having fun - tea parties, ice skating, making art, playing the Wizard of Oz. Little Jacob, one year old, was Toto the dog...but he didn't know it! I was sad to see them leave!

My art students have started some stone carving projects. They are really just using rasps and files, but we are studying Michelangelo so I wanted them to have some sort of stone experience. I have lots of stone scraps from my own projects.

Take care...spring is on the way (I think!)

Monday, January 31, 2011

Fused Glass Art Kiln Pressed Glass How to Remove Kiln Wash

Just wondering if anyone knows how to remove kiln wash from fused glass - other than sandblasting. We don't have sandblasting equipment. We do have a grinder, lap wheel, and a dremel with attachnments. I don't know how I can hang on to the piece to hold it on the lap wheel as it is only about 4" in diameter, and flat (1/8" thick). Any ideas appreciated!

I will attend the Glass Craft and Bead Expo in Las Vegas the beginning of March - looking to learn new techniques and excited to see all the new supplies and glass.

I hosted a tie dye birthday party in my studio yesterday. The kids made tie dyed pillow cases, balloon animals and origami book marks. It was great - the kids were all well mannered and fun!

We are looking forward to babysitting our grandkids while their parents have winter vacations in Jamaica and Peru...glad they didn't make plans to go see the Giza Pyramids in Cairo!

I tried making a small piece of kiln pressed glass this weekend. The technique worked well so I was pleased with that...but now to get the excess kiln wash off. If I can figure that out, I will post a photo.

Stay warm...windchill is minus 31 here today. Brrr!

My Favorites

  • books by Harlan Coben
  • Chagall's I and the Village
  • Our three daughters
  • Touring in Japan, Australia and New Zealand
  • Floating in the Dead Sea
  • My wonderful husband for 33+ years
  • "I love you, too, Grandma" by Taylor
  • Viewing the sunrise from Mount Sinai
  • Van Gogh's Irises
  • Monet's Water Lillies
  • Pillars of the Earth by Ken Follett

Followers

About Me

My photo
North Dakota, United States
Born and raised in Williston, North Dakota. Degrees in Occupational Therapy (never chose to work in the field) and Visual Arts. Married for 33 years to a super wonderful guy, three daughters - all three are talented, educated, contributing, beautiful members of our great big world. I am so proud of them...they are my best accomplishment to date! I love to make art and teach about it, too. An etsy friend recently shared this quote with me from St. Francis of Assisi: "He who works with his hands is a laborer, he who works with his hands and his head is a craftsman, he who works with his hands, his head and his heart is an artist." I think it is a wonderful statement!

Labels