


My art kids were really curious about how we would turn pantyhose into sculpture (most of them didn't even know what pantyhose are - I asked them to check with their moms and bring in any old pantyhose with runs!).
We used a 3 foot length of strong yet bendable wire (it has to be able to hold its shape), one leg of pantyhose, white glue, Gorilla Glue, one inch foam brushes, a small block of pine wood (about 5 x 5 x 1), dried split peas, white rice, chow mein noodles and black eyed peas, big wood beads (you could use big bright colors ones, instead, and glue them on after spray painting) and spray paint (I favor gold and silver because they are so 'showy' for the kids). You'll also need a drill for drilling two holes in each wood base.
Before the kids arrived (actually the night before) I used gorilla glue to secure a wire (each end of it) into each wood base. Be sure to moisten the drilled hole in the wood with a drop or two of water before you apply the glue to the wire end and push it into the wood base. I pushed it all the way through the wood and bent it back underneath to secure it well.
Each student put the sock on their wire, pulling it over the top of the wire, down the length of the wire, and stretching it to pull it over the edge of the wood base all the way around. Then they pulled on the wire to bend and curve it - until they were pleased with the shape of the sculpture.
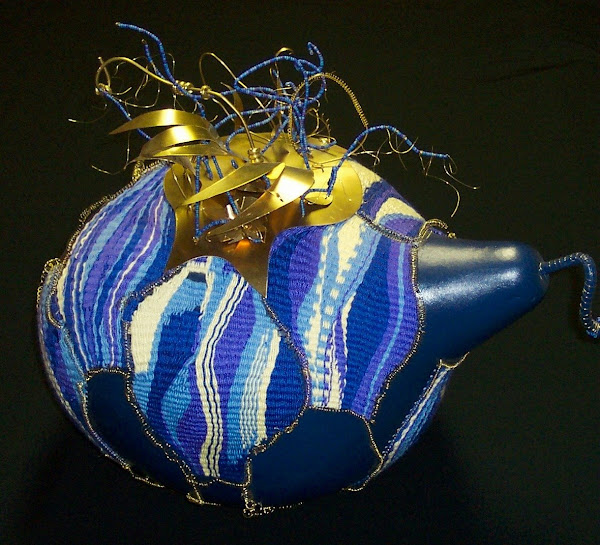
Next step: paint the whole thing with white glue. Let it dry and paint it again. Let it dry and paint it again! Lastly paint areas of it and place or throw (the most fun!) peas, beans, chow mein noodles and rice at the gluey areas. Some of it will stick. If you have too much glue some of the dried 'textures' will slide with the glue as it runs down, creating a nice line! Glue big wood beads for feet on the bottom corners - or all the way around - of the wood base. Let the sculpture dry again.
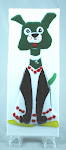
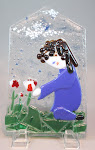
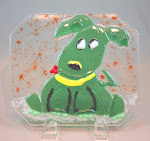
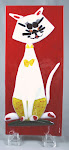
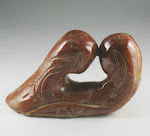
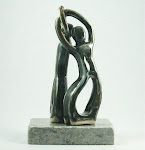
Take it outside and spray paint - voila! An wonderful abstract sculpture that was easy, messy and fun and inexpensive to make!
6 years ago


No comments:
Post a Comment